How to Use Glue Gun: Easy-to-Learn Steps & How to Choose One
You might be working on a DIY project and find yourself wondering how to use glue guns properly. Using a glue gun is simple, however it's important to handle it with care for safety and achieve the best results. This beginner-friendly guide will walk you through the proper use of a glue gun, including tips on choosing the right one for your needs. Follow on to become a more skilled glue gun user and elevate your crafting projects with confidence and precision.
What Is a Glue Gun?
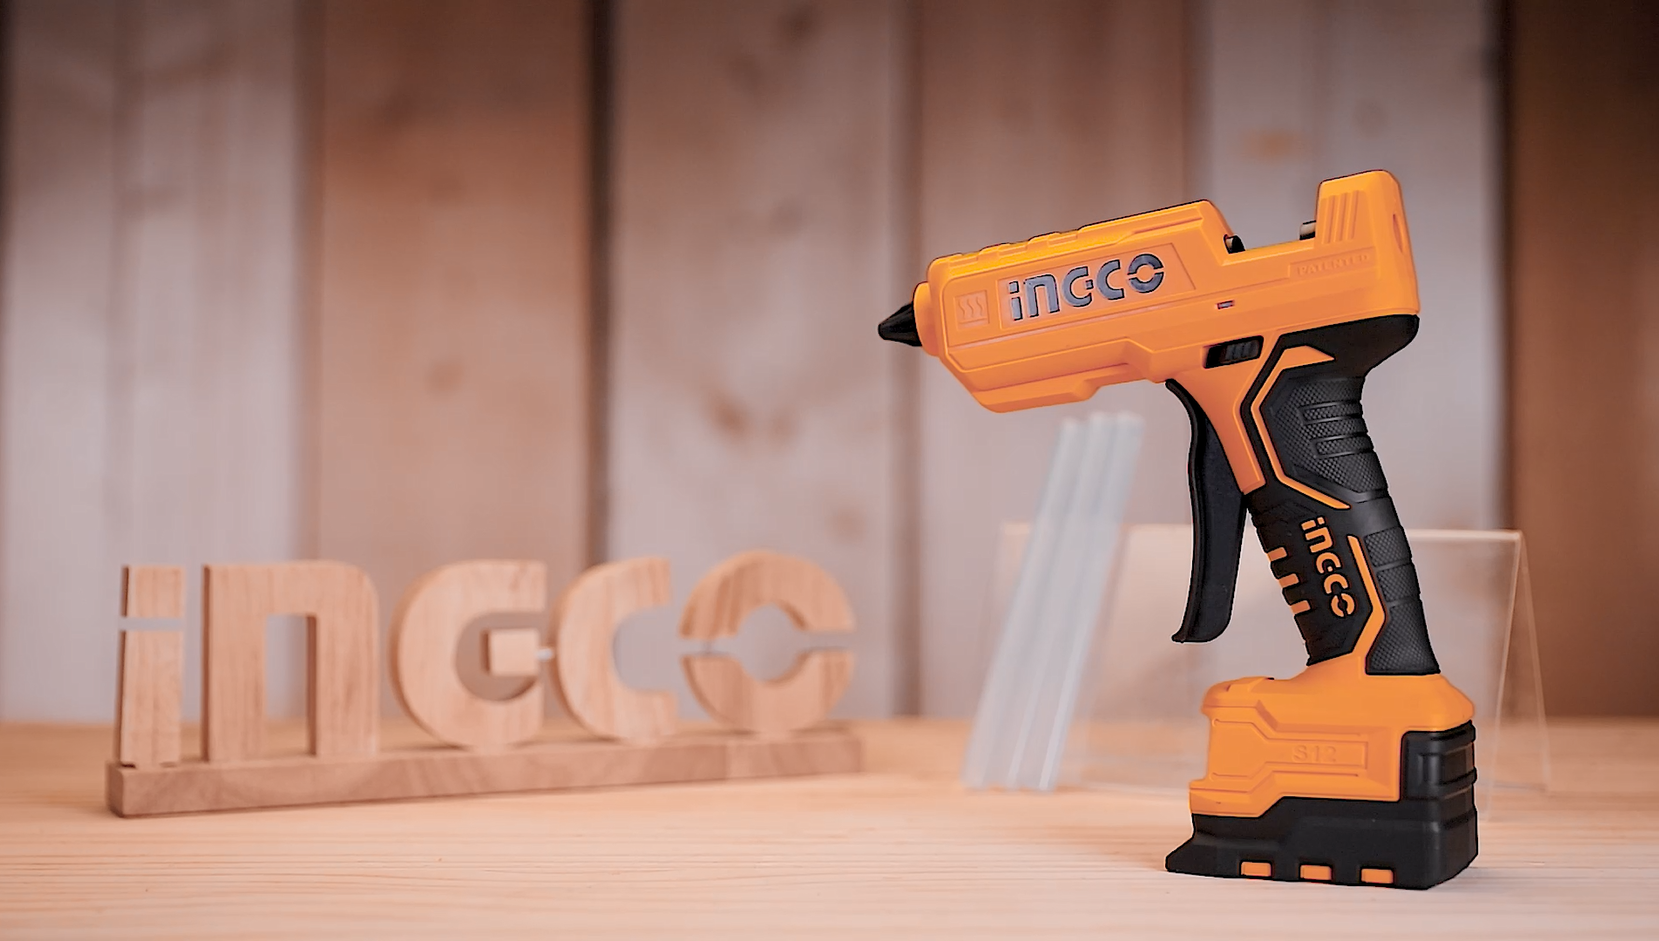
A glue gun is an electric, handheld device designed to melt glue sticks and dispense the adhesive in a controlled manner. The glue is heated to a high temperature, allowing it to flow easily from the nozzle onto the surfaces you wish to bond.
Glue guns are available in different types, including hot melt and cool melt. Hot melt glue guns are ideal for general use, bonding materials like wood, fabric, and plastic, while cool melt guns are better suited for delicate projects that require lower temperatures to avoid damaging sensitive materials.
How to Use a Glue Gun?
If you are new and asking how to use a glue gun first time, below are easy-to-learn steps on how to use it properly.
1. Load the Glue Stick
Begin by loading a glue stick into the glue gun. Insert the stick into the back of the gun, pushing it through until it reaches the heating chamber. Press the trigger several times to make sure the glue stick is firmly in place.
2. Test the Glue Flow
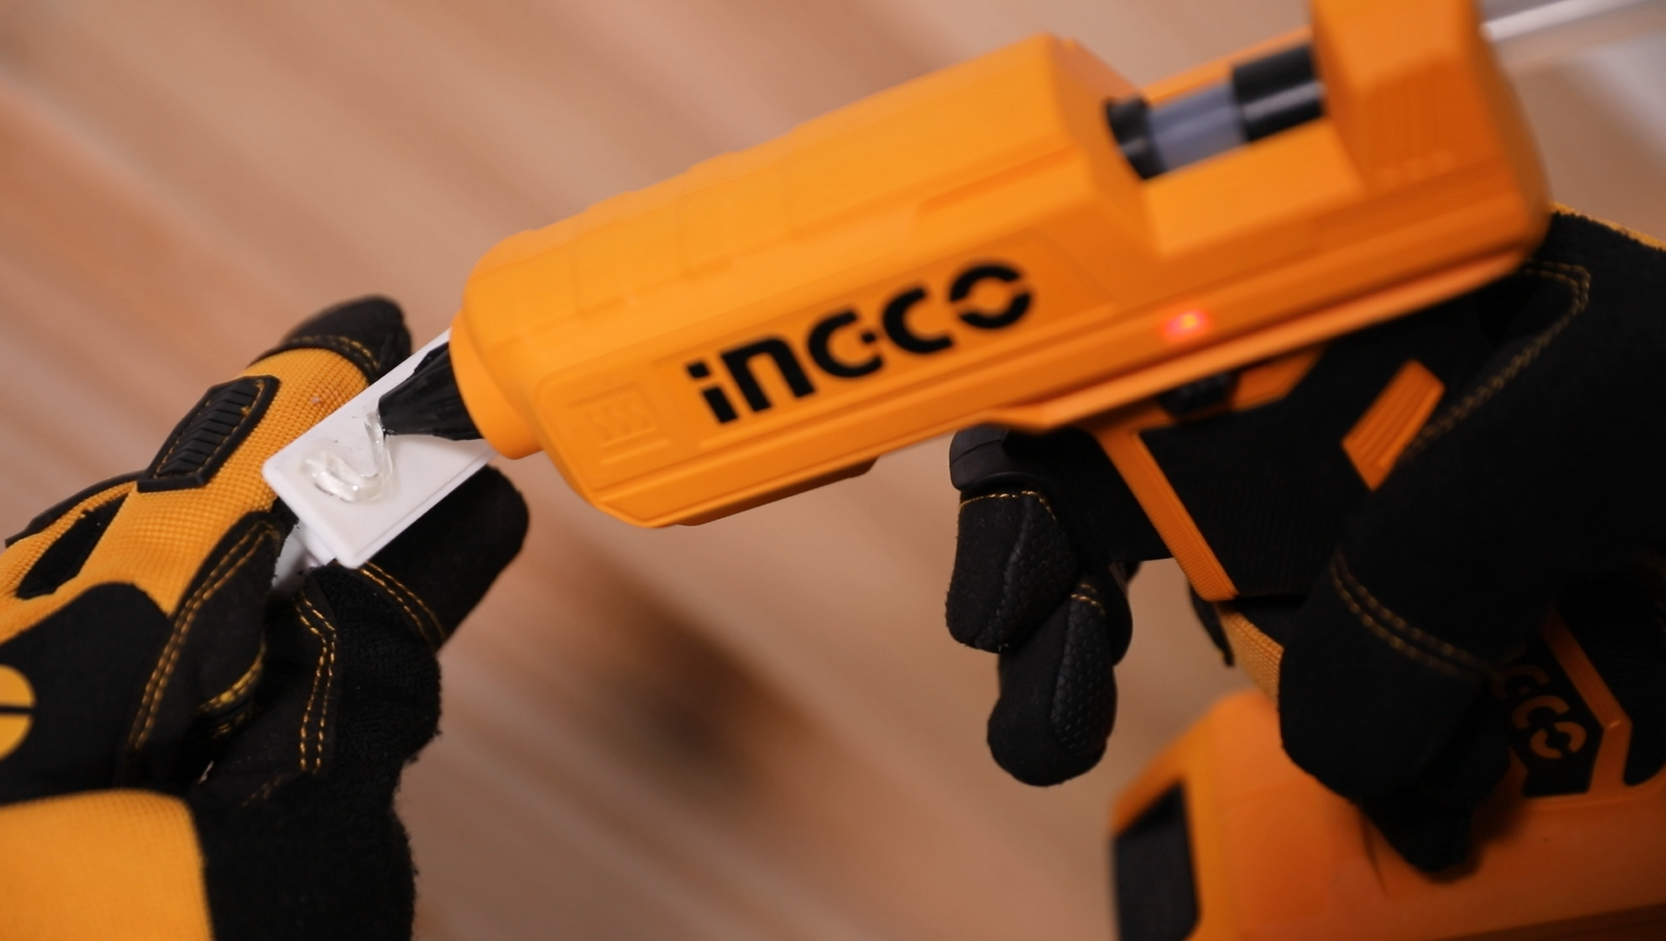
Before applying glue to your project, test the glue first if it’s flowing smoothly. To do this, plug in the glue gun and allow it to heat for approximately five minutes. Once heated, gently squeeze the trigger to dispense a small amount of glue onto a scrap piece of paper or surface.
3. Join the Surfaces
When you're ready to bond materials, apply the hot glue directly to one of the surfaces. It's best to work quickly, as hot glue sets rapidly. Press the surfaces together firmly within 15 seconds of applying the glue. Avoid spreading the glue, as the nozzle is designed for precise application.
4. Allow to Cool
After joining the surfaces, allow the glue to cool and set completely. This usually takes a few minutes, depending on the thickness of the glue and the materials used. It's important not to disturb the bonded surfaces during this time to achieve the best results.
5. Unplug and Cool Down the Glue Gun
Once you finish your project, unplug the glue gun to allow it to cool down. This is a recommended safety step, as the gun can remain hot for some time after use. Let it cool on a heat-resistant surface to prevent any damage to your workspace.
6. Clean the Glue Gun
After it has cooled down, clean any excess glue from the nozzle and surrounding areas. You can use a soft cloth or a craft knife to carefully remove hardened glue. Avoid using water or cleaning solutions, as these can damage the device.
How to Choose a Glue Gun?
Many glue gun variations are generally categorized by their temperature, size, power source, and nozzle design. Let’s talk about each factor that you should consider when choosing a glue gun.
Type of Glue Gun
When choosing a glue gun, you'll come across three main types: high-temperature, low-temperature, and variable-temperature models. High-temperature glue guns operate around 350°F and are great for most general uses. Low-temperature guns work at about 250°F, which are used for heat-sensitive materials. Variable-temperature guns have adjustable settings, ranging from 220°F to 450°F, giving you more control.
Size and Power Source
Glue guns come in different sizes, usually classified as mini and full-size. Mini glue guns use 0.28-inch glue sticks and are perfect for small DIY projects and detailed work. Full-size glue guns use 0.43-inch glue sticks which are more appropriate to use for large-scale projects like construction, home improvement, or repairs.

You can also choose between corded and cordless glue guns. Corded models operate through continuous electrical power, which is great for longer tasks. If you are working on projects where you need to move around or don't have easy access to an outlet, I recommend using cordless glue guns since they are more portable and convenient. If you are looking for one, INGCO offers different types of cordless glue guns. You can choose between a 12-voltage or a 20-voltage gun both with 15-18g/min gluing capacity which are great for small to extensive projects.
Nozzle Design
For general use, standard nozzles are a good choice, because they can be used for different common tasks. If you need to focus on detailed work, precision nozzles are perfect, as they have a more controlled application and accuracy. For covering larger areas, spreader nozzles are ideal due to their even distribution.
There are also special nozzles, like spray nozzles for painting or applying finishes, and extension nozzles for automotive work or plumbing. Picking the right nozzle not only improves the quality of your projects but also prevents glue wastage.
Conclusion
It's straightforward to learn how to use glue guns, but if you’re using it for the first time, always be careful. I recommend wearing gloves to protect your hands from accidental burns. Make sure to read and familiarize yourself with the manufacturer’s instructions and practice on scrap materials before diving into your main project.
FAQs
How to remove glue from a glue gun?
To remove glue from a glue gun, first, unplug the device and allow it to cool completely. Once cool, gently pull out any remaining glue sticks from the back. For hardened glue in the nozzle, use a craft knife or a scraper to carefully remove it. Avoid using water or solvents, as they can damage the gun.
How to use a glue gun on wood?
First, ensure the wood surfaces are clean and dry. Load the glue stick into the gun and let it heat up. Apply the hot glue to one surface, then press the two pieces of wood together firmly. Hold them in place for about 15 seconds to allow the glue to set.