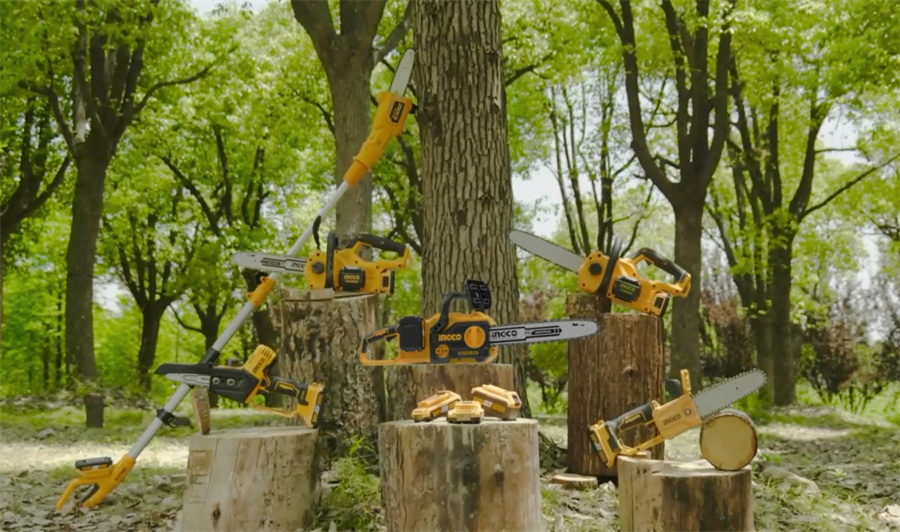
How to Clean Garden Tools: Essential Maintenance Guide
Garden tools are not just practical accessories; they're an integral part of any gardener's arsenal. Designed for longevity, these tools accompany gardeners through numerous projects, proving to be steadfast allies in nurturing gardens.
In this guide, we explore how to clean garden tools to ensure their optimal performance. We start by emphasizing the significance of regular cleaning and then provide comprehensive cleaning instructions. Finally, we share some essential tips for storing and maintaining your tools post-cleaning, ensuring they remain dependable for years to come. Let's dive in!
Why Is Cleaning Garden Tools Important?
Before diving into the essentials of how to clean and sharpen garden tools, it's crucial to understand why maintaining them is necessary and indispensable.
Cleaning garden tools is vital not only for their longevity but also for the overall efficiency and effectiveness of your gardening work. Each tool in your garden arsenal accumulates dirt and debris from regular use, which, if left unattended, can become a breeding ground for weeds and various soil-borne diseases. This dirt can also retain moisture, significantly increasing the risk of rust, which can compromise the structural integrity and functionality of the tools.
Moreover, clean garden tools regardless of electric weeders or garden multi-tools are easier to handle and operate. They offer a smoother performance, making your gardening tasks feel more effortless and enjoyable. By maintaining the cleanliness of your tools, you're also ensuring that they remain sharp and efficient, reducing the physical strain on you during use.
How to Properly Clean Garden Tools
Maintaining clean garden tools is crucial for their longevity, performance, and preventing the spread of plant diseases. Here's how to properly clean rusty garden tools step by step:
Remove Dirt and Debris
Begin by clearing off any dirt or plant material stuck to your tools. Use a stiff brush or a wire brush to scrub away soil and debris from the blades, handles, and joints of your tools. For harder-to-remove dirt or sap, a putty knife or an old screwdriver works well to scrape away stubborn grime.
Remove Rust
If you notice rust on your tools, it’s important to remove it as soon as possible to avoid further damage. For how to clean rust off garden tools, use steel wool or a wire brush to scrub off the rusted areas. For severe rust, soaking the affected area in white vinegar for several hours can help break down the rust. After scrubbing, rinse the tools thoroughly with water and dry them immediately.
Smoothing and Sanding
Once the tools are clean, focus on the wooden handles. Use medium-grit sandpaper to smooth out the handles, removing any splinters and worn finishes that could cause discomfort or injury during use. Sanding not only improves the grip but also prepares the wood for sealing or oiling, which can prolong its life. If the metal parts still show signs of rust after brushing, sand them lightly to polish the surfaces, ensuring that they are smooth and free of any pitting that could harbor moisture.
Sharpening Blades
Sharp tools make gardening easier and more efficient. Start with your pruners and other tools with beveled blades. Using a whetstone, sharpen the blades by rubbing them in a consistent curved motion to maintain the blade's angle. For flat blades like spades and hoes, use a file. Move the file in one direction away from your body to avoid injuries. This not only sharpens the blade but also helps in removing any small nicks or irregularities.
Lubricating Moving Parts
After cleaning and sharpening, it’s crucial to lubricate the tools to protect them from moisture and rust. Apply a light coat of a suitable lubricant to all moving parts, joints, and metal surfaces. This not only prevents rust but also ensures that the tools function smoothly without any stiffness or squeaking.
Dry and Store Properly
Finally, ensure your tools are fully dry before storing them. Hang them in a dry, well-ventilated area such as a shed, or store them in a toolbox. Avoid leaving tools on the ground or outside, as exposure to moisture will lead to rust and decay.
Tips to Store and Maintain Garden Tools After Cleaning
Once your garden tools are clean, proper storage and maintenance are essential to ensure they stay in good condition. Here are some tips to store and maintain them effectively:
Ensure Tools Are Dry
Before storing your tools, always make sure they are completely dry. Moisture is the main cause of rust on metal parts, so leaving tools damp will lead to corrosion. After cleaning, wipe them dry with a clean cloth or allow them to air dry in a well-ventilated area.
Apply Protective Coating
To prevent rust, apply a thin layer of oil or lubricant, such as WD-40 or linseed oil, to the metal parts of the tools. This protective coating helps shield the metal from moisture and oxidation. For wooden handles, applying linseed oil can help prevent them from drying out, cracking, or splitting over time.
Organize and Hang Tools
Store your tools in a dry, cool place, such as a shed or garage, where they will not be exposed to the elements. Store batteries away from metal objects and high temperatures to prevent damage and preserve their charge capacity. Hanging tools on a pegboard or using wall-mounted racks keeps them off the ground and helps prevent dulling of blades. It also keeps your workspace organized and ensures the tools are easily accessible.
Store in Toolboxes or Containers
For smaller tools like pruners, hand trowels, and shears, using toolboxes or storage containers can help protect them from dust and moisture. If you don’t have wall space to hang larger tools like shovels and rakes, place them in a standing tool rack to keep them upright and organized.
Maintain Tools Regularly
Routine maintenance after cleaning is key to keeping your tools in top condition. Regularly inspect your tools for any signs of wear, rust, or damage. Sharpen blades as needed and oil joints or moving parts regularly to keep them functioning smoothly. Recharge the lithium batteries of your battery-powered tools according to the manufacturer's guidelines. Additionally, check wooden handles for any signs of cracks or splinters and sand them down if necessary.

Conclusion
Now you know how to clean garden tools effectively. While it may involve a bit of effort, the process is straightforward and clearly outlined in the steps provided in this blog. By diligently following these procedures and incorporating the additional storage and maintenance tips discussed, you can efficiently clean and preserve your garden tools. This approach ensures that your gardening implements remain in excellent condition, ready to assist you in your gardening endeavors for many years to come.
FAQs
How often should I clean my garden tools?
Ideally, garden tools should be cleaned after each use to prevent soil and sap from building up, which can lead to rust and degradation. Regular cleaning also ensures that your tools remain effective and safe to use.
Can you use vinegar to clean garden tools?
Yes, vinegar is an effective cleaner for garden tools, especially for removing rust. Soak the rusty parts in a mixture of white vinegar and water, or apply it directly to the rust spots. After soaking, scrub the rust away with a brush and rinse the tools thoroughly.
How do you remove dirt and grime from tools?
To remove dirt and grime, start by knocking off loose soil. For more stubborn grime, use a stiff brush or a wire brush to scrub the tools clean. For greasy components, a mild detergent mixed with water can be effective. Always dry your tools thoroughly after washing them to prevent rust.
What can I use to prevent rust on my garden tools?
To prevent rust, keep your tools dry and clean, and store them in a dry place. You can also apply a light coat of oil or a silicone-based lubricant to the metal parts of the tools after cleaning. This creates a barrier against moisture and reduces the likelihood of rust developing.